Tembo’s Blog
Floor Drees
Head of Education
Excitement about the PostgreSQL landscape at the Extensions Ecosystem Summit at PGConf EU
5 min read
Dec 5, 2024


Adam Hendel
Founding Engineer
Over 30k messages per second on Postgres with Tembo Message Queue Stack
7 min read
Dec 6, 2023

Adam Hendel
Founding Engineer
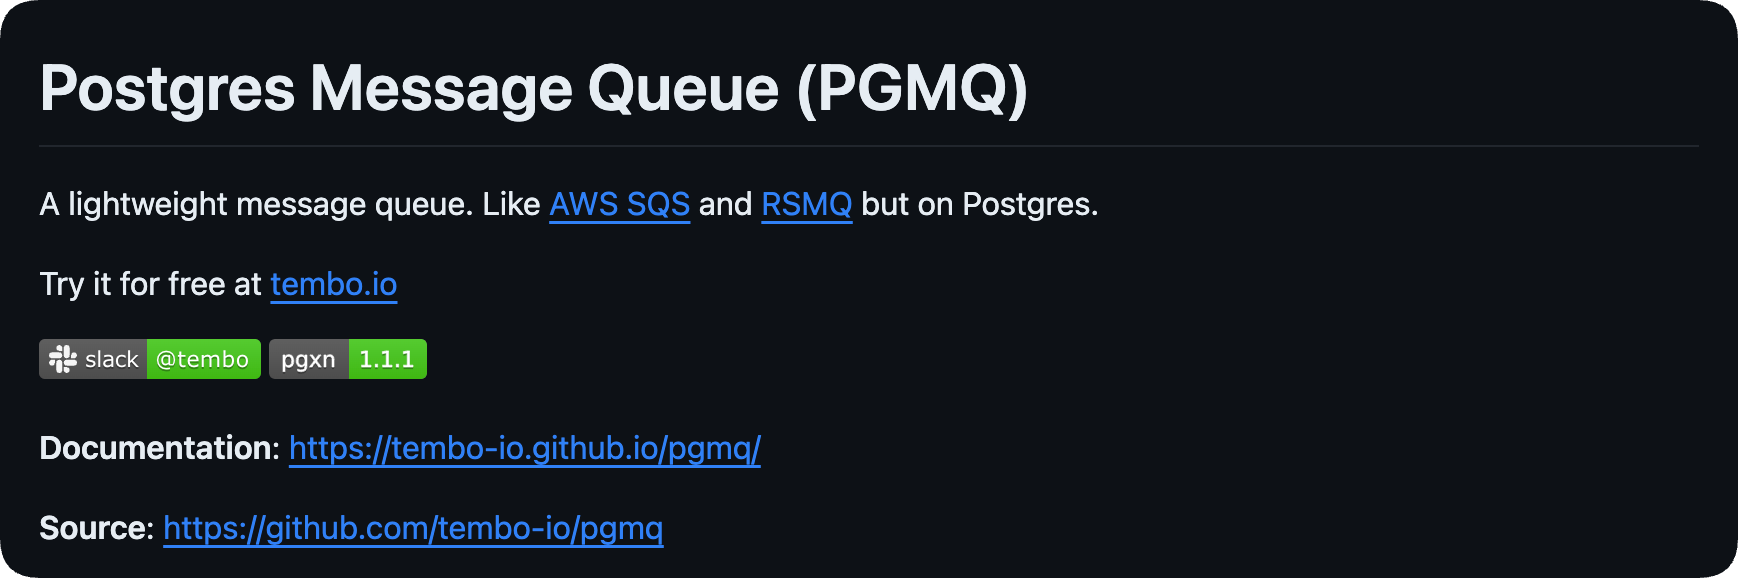
PGMQ: Lightweight Message Queue on Postgres with No Background Worker
6 min read
Nov 7, 2023

Binidxaba
Community contributor
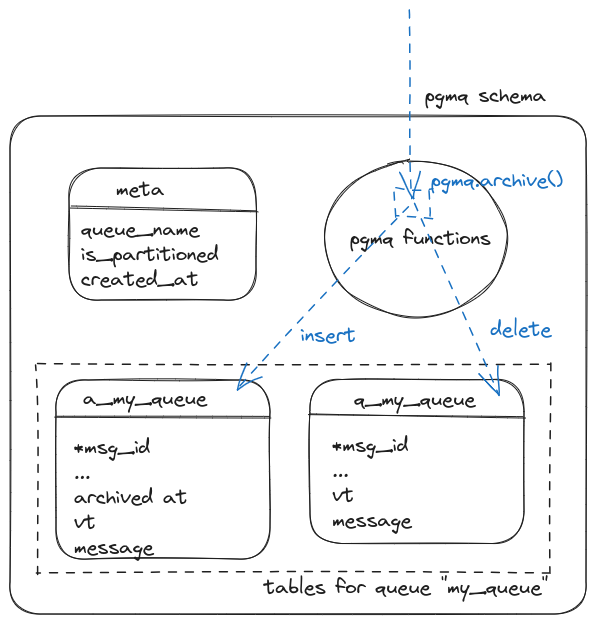
Anatomy of a Postgres extension written in Rust: pgmq
11 min read
Sep 28, 2023
Binidxaba
Community contributor
Using pgmq with Python
5 min read
Aug 24, 2023
